
The art of making homemade gelato
When the word gelato is mentioned, many of you might instinctively think of a sunny Italian piazza, a lazy afternoon, and a creamy, delectable ice cream with an exquisite flavor melting on your tongue. Yet, the art of gelato making is not confined to the bustling streets of Italy. You too can master this skill and recreate the ambrosial Italian experience right in your kitchen.
The Anatomy of Gelato
Before we delve into the specific techniques of gelato making, it’s essential to understand what makes gelato, well, gelato. The primary difference lies in the ingredients and their proportions. Gelato is creamier, denser, and more flavorful than its ice cream counterpart.
Dans le meme genre : The art of crafting perfect smoothie bowls
Lire également : How to incorporate superfoods into everyday meals?
The base of gelato is made up of milk, cream, and sugar. Unlike ice cream, gelato often contains less cream and more milk, resulting in a lower fat content. This also allows the flavors to shine through more vividly. Another key element is the churning process. Gelato is churned at a slower speed, which introduces less air into the mixture, leading to its famously dense texture.
A voir aussi : How to incorporate superfoods into everyday meals?
Ingredients and Proportions
Now that we’ve unraveled the mystery of what gelato is, let’s move on to making it. You will need milk, cream, sugar, and your desired flavoring ingredients. A basic recipe might include 2 cups of milk, 1 cup of cream, and 3/4 cup of sugar. Of course, these proportions can be adjusted according to taste, dietary needs, or specific recipes.
Dans le meme genre : The art of crafting perfect smoothie bowls
The flavoring ingredients can range from the classic stracciatella (chocolate chip) to the adventurous fig and honey. It’s your chance to experiment and find your signature flavor. Remember, gelato is all about letting the flavors shine, so using high-quality, fresh ingredients is key to achieving that perfect gelato moment.
Step-by-Step Gelato Making
Let’s embark on the step-by-step journey of making homemade gelato.
- Start with heating the milk and sugar in a saucepan over medium heat. Stir until the sugar dissolves completely. This will be your gelato base.
- Next, slowly add the cream into the mixture and continue stirring. Ensure the mixture doesn’t boil. After a few minutes, remove from heat and let cool.
- Now comes the fun part – adding the flavors. If you’re using fruits, puree them in a blender and then add to the cooled base. For chocolate or vanilla, add the cocoa powder or vanilla extract and mix well.
- Once your mixture is well combined, it’s time to churn it. If you have a gelato maker, pour the mixture in and let it churn for about 30 minutes. For those without a gelato maker, you can use an ice cream maker, though the texture might not be as creamy.
- After churning, transfer the gelato to an airtight container and freeze it for at least two hours before serving.
Mastering the Art: Tips and Tricks
Learning to make gelato is an art, and like all arts, it requires practice and patience. Here are a few tips and tricks to help you along your gelato-making journey:
- Always use fresh ingredients. The quality of your ingredients directly influences the taste of your gelato. Opt for fresh fruits, high-quality chocolate, and pure vanilla extract.
- Be patient with the churning process. Rushing this step will introduce more air into the gelato, making it less dense and creamy.
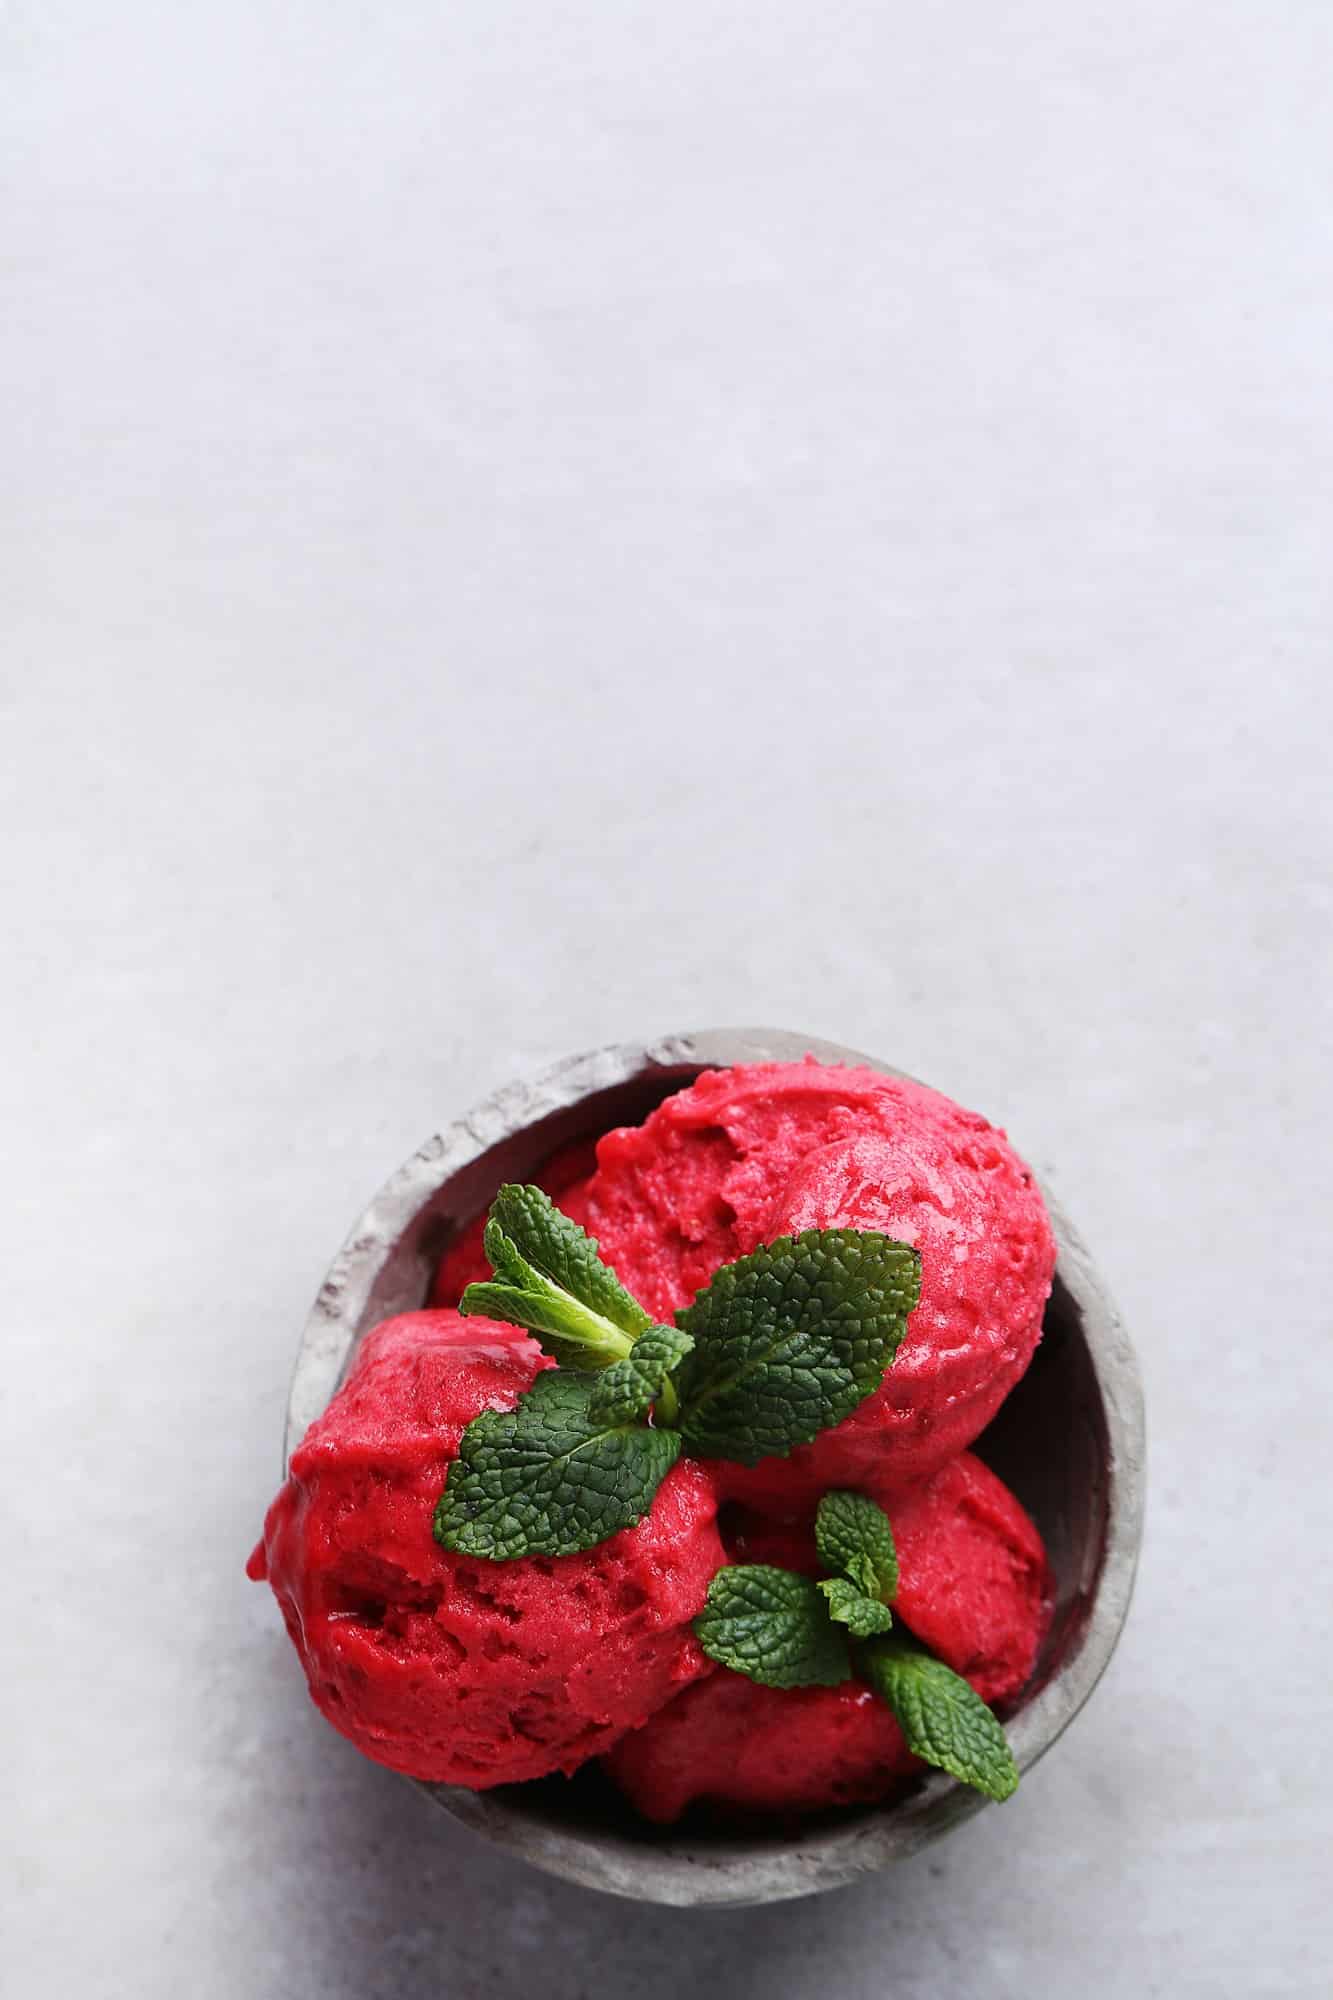
- Don’t be afraid to experiment with flavors. Part of the fun of making gelato is creating your unique combinations. Basil and lemon, lavender and honey, beetroot and ginger – the possibilities are endless.
Gelato Recipes to Try
For those of you seeking inspiration, there are plenty of resources available. Many books delve into the art of gelato making, offering a plethora of recipes for you to try. Two recommendations would be "The Art of Making Gelato" by Morgan Morano and "Gelato: Simple recipes for authentic Italian gelato to make at home" by Adriano di Petrillo.
Remember, the goal is not only to create a delicious bowl of gelato but to enjoy the process. So, take your time, experiment with flavors, and soon, you’ll master the art of making homemade gelato. Enjoy the creaminess, the flavors, and the satisfaction of creating your gelato masterpiece.
Going the Extra Mile: The Role of Additives in Gelato Making
In the process of making gelato, additives like tapioca starch, corn syrup, and milk powder can help enhance the texture and flavor of your gelato. These ingredients are not mandatory, but they can make a significant difference.
Tapioca starch, for instance, is an excellent thickening agent. It provides your gelato with a smoother, creamier consistency, and more importantly, it helps in preventing the formation of ice crystals during freezing, ensuring a smoother gelato. You can generally add about two tablespoons of tapioca starch per quart of gelato mixture.
Using corn syrup is another great way to combat crystallization and add a little sweetness. It gives a slightly more elastic, chewy texture to your gelato. About three tablespoons of corn syrup can be added to your base mixture.
Milk powder, on the other hand, is a great tool for boosting the richness of your gelato. It enhances the milky flavor and makes the gelato denser. Add 1/4 cup of milk powder for every quart of your base mixture.
Ensure that all these ingredients are well incorporated into your mixture before you proceed to churn. This can be achieved by mixing them in during the heating of your milk, cream, and sugar.
The Secret of Serving and Storing Gelato
Serving and storing gelato is an art in itself. Once your gelato is churned and frozen, it’s ready to be served. However, unlike ice cream, gelato is best served at a slightly warmer temperature, around -13°C (8°F). This temperature allows the gelato to maintain its soft, smooth texture.
When it comes to storage, you’d need a suitable storage container. A shallow, airtight container is the best choice for storing gelato. This type of container aids in preventing air exposure which can lead to freezer burn and formation of ice crystals.
Before closing the lid of your storage container, place a piece of plastic wrap directly on the surface of the gelato. This helps prevent ice crystals from forming on the gelato. Then, store it in the coldest part of your freezer, usually at the back, where temperature fluctuations are least.
As a final tip, remember that homemade gelato is best consumed within two weeks. After this period, it tends to lose its texture and flavor.
In Conclusion: Embrace the Art of Gelato Making
The art of making gelato opens a window into a world of creaminess, flavor, and texture. With a little patience, practice, and creativity, you can master this art and enjoy the delicious results of your labor.
Remember, the beauty of homemade gelato lies not only in the end product but also in the journey. From carefully selecting high-quality ingredients to patiently churning and finally scooping out that perfectly creamy spoonful, each step is an experience to be savored.
Whether you adhere strictly to traditional Italian gelato recipes or venture into the world of unique flavor combinations, whether you choose to use additives like tapioca starch and corn syrup or prefer to keep it simple, the essence of gelato making remains the same. It’s about creating something delightful, one scoop at a time.
As Morgan Morano, an expert in gelato making, once said, "Making gelato is a labor of love". So, embrace this labor of love, and start your gelato-making journey today. Your taste buds will thank you!